
Note: Web-ready HTML body only; unnecessary source artifacts have been removed.
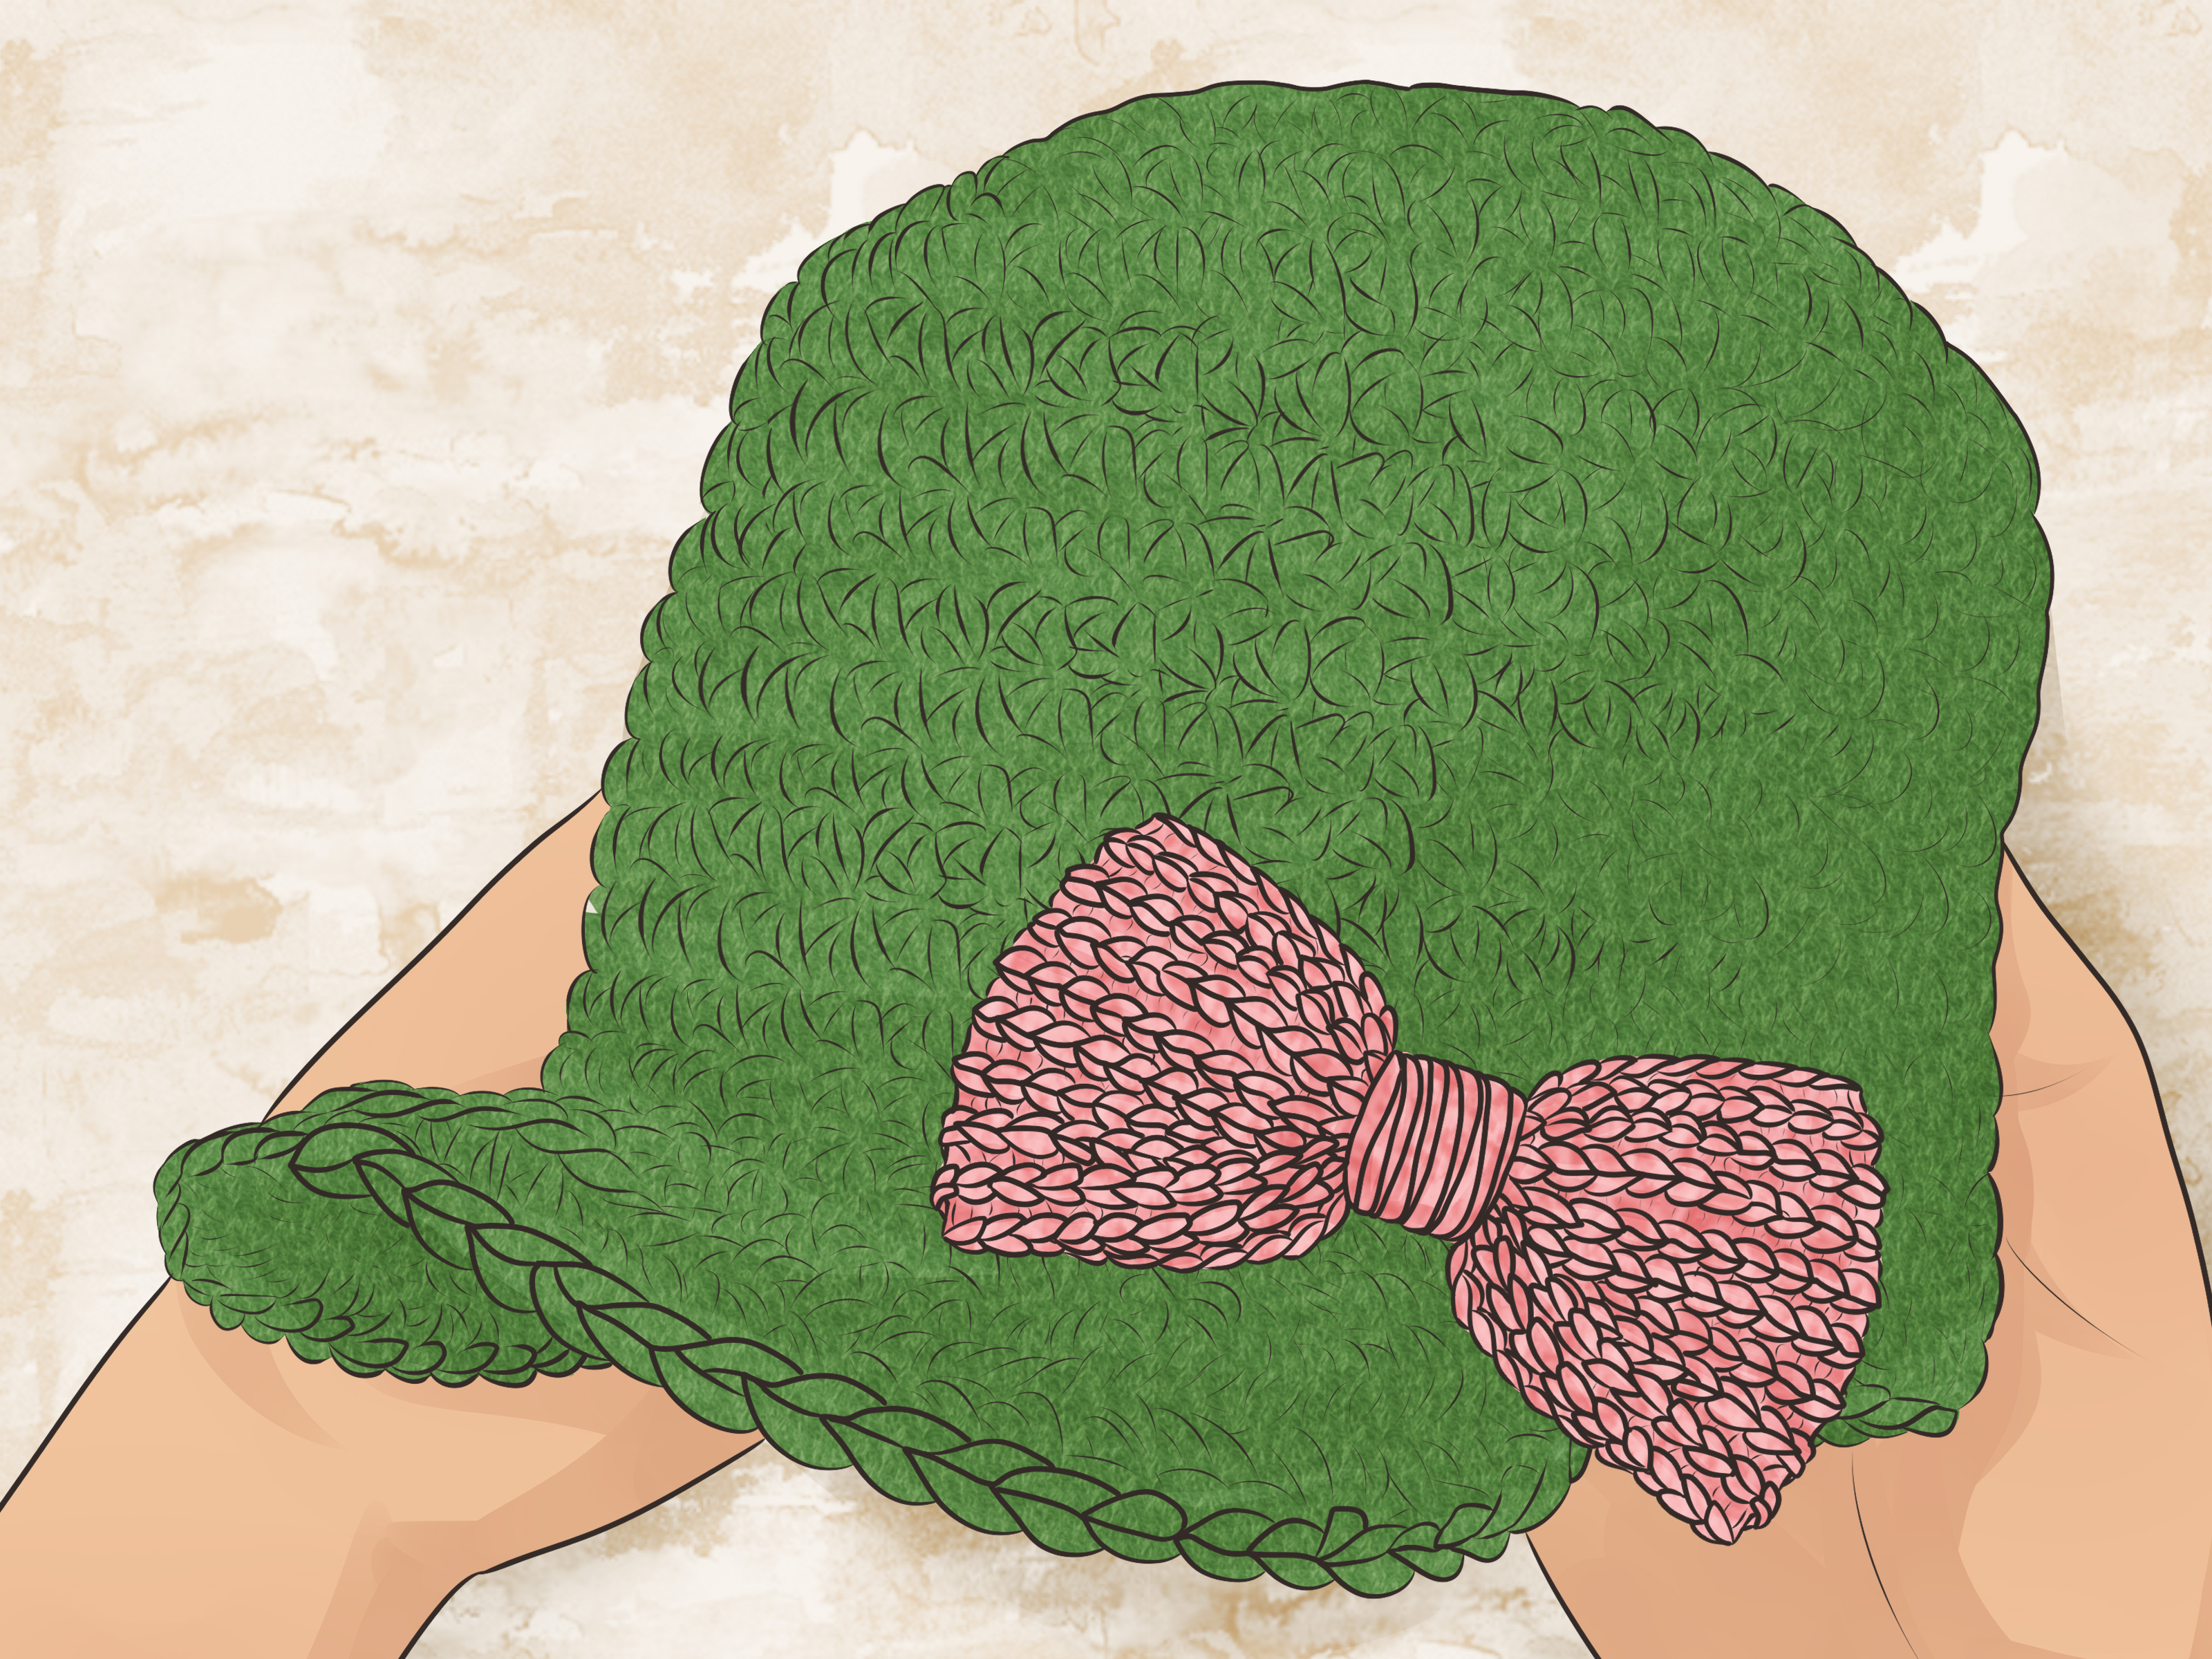
If regular beanies feel a little too “I got dressed in the dark,” a crochet hat with a brim is here to save the day. It has style, personality, and just enough attitude to say, “Yes, I made this, and yes, I absolutely plan to wear it everywhere.” Whether you want a practical sun hat, a cozy winter cap, or a bucket-style topper that makes you look suspiciously crafty in the best possible way, learning how to crochet a hat with a brim is one of the most useful skills you can add to your project list.
The good news is that a brimmed crochet hat is not some elite-level yarn wizard project. In most cases, it follows a simple structure: make the crown, build the sides, shape the brim, and finish neatly. Once you understand that basic architecture, you can customize your hat with different stitch patterns, yarn types, brim widths, and finishing details. In other words, you are only a few rounds away from becoming the kind of person who says things like, “This one is my casual weekend brim hat.”
In this guide, you will learn the anatomy of a crochet hat with a brim, the materials that work best, a beginner-friendly step-by-step method, and the small design choices that make the difference between “homemade” and “wait, you made that?”
Why Crochet a Hat with a Brim?
A brim adds more than visual charm. It gives the hat structure, creates a polished silhouette, and can help shield your face from sun, wind, or light rain. A brim can also make a crochet hat feel more styled and intentional. A plain beanie is great, but a brimmed hat says you came prepared for both weather and compliments.
Another reason crocheters love brimmed hats is flexibility. You can make a narrow brim for a sporty cap, a medium brim for a classic bucket hat, or a wider brim for a dramatic summer look. You can also go soft and floppy, or you can reinforce the brim so it holds its shape. That means this one project idea can become a whole category of handmade accessories.
What You Need Before You Start
Basic Materials
- Medium-weight yarn (#4 worsted) for an easy, all-purpose hat
- A crochet hook that matches your yarn label, usually 5.0 mm to 5.5 mm for worsted yarn
- Stitch marker
- Tapestry needle
- Scissors
- Measuring tape
- Optional brim support such as interfacing, plastic canvas, millinery wire, or a second strand of yarn
If you are making a warm winter hat, wool blends and acrylic blends are solid choices. If you are making a summer hat, cotton or raffia-style yarn often works better because it gives cleaner structure and less stretch. Think of it this way: soft yarn makes a comfy hat, but structured yarn makes a bossy brim. Sometimes you need both.
Helpful Stitches to Know
- Chain stitch (ch)
- Slip stitch (sl st)
- Single crochet (sc)
- Half double crochet (hdc)
- Double crochet (dc)
- Increase stitches
- Back loop only (optional, for ribbing or texture)
You do not need to know every fancy stitch in the crochet universe. For most brimmed hats, basic stitches are enough. In fact, simple stitches often produce the cleanest, most wearable results.
Understand the 3 Parts of a Brimmed Crochet Hat
Before you start crocheting, it helps to understand what you are building. Most crochet hats with a brim are made in three main sections:
1. The Crown
This is the top of the hat. It is usually worked in the round, starting with a magic ring or a small chain circle. You increase evenly each round until the crown is the size you need.
2. The Body
This is the part that comes down around the head. Once the crown is wide enough, you stop increasing and crochet straight rounds to build depth.
3. The Brim
This is where the fun begins. The brim is created by adding rounds with controlled increases. More increases create more flare. Fewer increases create a more subtle brim. That is the whole secret. It sounds almost too simple, which is rude, honestly.
How to Size a Crochet Hat with a Brim
Measure the head around the widest part, usually across the forehead and around the back. For many adults, that lands somewhere around 21 to 23 inches. Crochet hats usually fit best when they are slightly smaller than the actual head measurement because crochet fabric stretches during wear.
Also think about height. A snug cap needs less depth than a loose bucket hat. If you want a folded edge or extra slouch, add length. If you want a hat that sits higher and cleaner, keep the body shorter. When making a brimmed hat, always remember that the brim adds visual volume, so the body does not need to be overly tall unless that is part of the style.
Step-by-Step: How to Crochet a Basic Hat with a Brim
The following method is a beginner-friendly top-down approach for an adult-size hat. You can adjust the number of rounds based on yarn thickness, hook size, and the fit you want.
Step 1: Start the Crown
Begin with a magic ring and crochet 8 single crochet stitches into the ring. Pull it closed and place a stitch marker in the first stitch.
Now work increase rounds:
- Round 2: 2 sc in each stitch around (16)
- Round 3: 1 sc, increase; repeat around (24)
- Round 4: 2 sc, increase; repeat around (32)
- Round 5: 3 sc, increase; repeat around (40)
- Round 6: 4 sc, increase; repeat around (48)
- Round 7: 5 sc, increase; repeat around (56)
- Round 8: 6 sc, increase; repeat around (64)
Check the crown diameter as you go. You want a flat circle that sits smooth without curling up or ruffling. If it starts cupping, add increases sooner. If it starts waving like it is auditioning as lettuce, you may have too many increases.
Step 2: Crochet the Body of the Hat
Once the crown is large enough, stop increasing and work even rounds. That means one stitch in each stitch around. Keep going until the hat reaches the desired depth, usually about 5 to 6 inches from the center top for a standard adult fit before adding the brim.
This section is where you can play with texture. You can keep working in single crochet for a sturdy fabric, switch to half double crochet for speed, or add back-loop-only rounds for subtle ribbing. If you want a cleaner, more structured hat, single crochet is a great choice. If you want faster progress and a softer fabric, half double crochet is your friend.
Step 3: Begin the Brim
To make the brim, start increasing again, but more gently than you did at the crown. This creates the outward angle instead of a flat circle.
Try this basic sequence:
- Brim Round 1: 7 sc, increase; repeat around
- Brim Round 2: sc in each stitch around
- Brim Round 3: 8 sc, increase; repeat around
- Brim Round 4: sc in each stitch around
- Brim Round 5: 9 sc, increase; repeat around
- Brim Round 6: sc in each stitch around
This creates a modest brim that looks good on everyday hats and bucket-style designs. Want more drama? Add more increase rounds. Want a tiny brim? Stop earlier. You are the director now.
Step 4: Add Structure if Needed
If your brim looks too floppy, you have options. Use a smaller hook for the brim rounds. Crochet more tightly. Switch to single crochet if you were using taller stitches. You can also insert a strip of interfacing or thin plastic canvas inside a folded brim edge, or crochet over millinery wire for a stronger finish. Cotton yarn also tends to hold brim shape better than very soft acrylic.
Another trick is to hold two strands together for the brim only. That creates thicker fabric without forcing you to redesign the whole hat. It is the crochet equivalent of giving the brim a little pep talk and a strong cup of coffee.
Step 5: Finish the Edge
For a polished finish, add one final edging round. A simple slip stitch round gives a neat, subtle edge. Single crochet gives a clean finish. Reverse single crochet, also called crab stitch, creates a rope-like edge that looks especially nice on brims because it adds both texture and firmness.
Fasten off, weave in ends carefully, and give the hat a gentle block if needed. Blocking can smooth uneven stitches and improve the final shape, especially if your brim needs a little encouragement to behave.
Best Yarn Choices for Different Brimmed Hats
For Winter Hats
Use acrylic, wool, or wool-blend yarn. These fibers hold warmth well and create a cozy fabric. A narrow brim or folded brim works beautifully for cold-weather styles.
For Summer Hats
Choose cotton, linen blends, raffia-style yarn, or tape yarn. These materials usually produce better stitch definition and a more stable brim. If you want a sun hat look, this is the lane to stay in.
For Fashion Hats
Try textured stitches, color changes, stripes, or a decorative band. Even a simple hat with a brim can look elevated when you add contrast yarn, a leather tag, a tied cord, or a flower embellishment. Just avoid adding ten decorations at once unless your goal is “craft fair maximalism,” which, to be fair, is a very real aesthetic.
Common Mistakes When Crocheting a Hat with a Brim
Too Many Increases in the Brim
This creates ruffles instead of a clean brim. Unless you are intentionally making a dramatic floppy design, slow down your increase rate.
Too Few Increases
This can make the brim curl downward or sit too tight against the body of the hat. A brim needs room to spread.
Ignoring Gauge
If your hat fits a watermelon or a grapefruit instead of a human, gauge is probably the culprit. Make a quick swatch, especially when changing yarn.
Using the Wrong Yarn for the Style
A super soft drapey yarn may be lovely for scarves, but it can make a brim collapse. Match the yarn to the look you want.
Easy Ways to Customize Your Brimmed Hat
- Add a decorative band in a contrasting color
- Use front post or back post stitches for texture
- Create a fold-over cuff above the brim for extra warmth
- Add buttons, a flower, or a bow
- Use stripes for a sporty look
- Make the brim asymmetrical for a fashion-forward shape
Once you understand the basic construction, you can make a crochet hat with a brim that looks classic, playful, modern, vintage, or beach-ready. The same foundation can lead to a newsboy cap, bucket hat, cloche-inspired shape, or structured casual cap.
Real-Life Experiences and Lessons Learned from Crocheting Brimmed Hats
The first time I crocheted a hat with a brim, I was wildly confident for absolutely no reason. I had made scarves, dishcloths, and one suspiciously lopsided beanie, so naturally I assumed a brimmed hat would be easy. Reader, the brim had other ideas. I increased too often, and the finished edge looked less like a stylish hat and more like a pasta bowl having an emotional crisis. That project taught me the most important lesson about brim shaping: the brim is not difficult, but it is extremely honest. If your stitch count is off, it will tell on you immediately.
On my next attempt, I slowed down and paid attention to structure. I used single crochet for the body and the brim, and the difference was dramatic. The hat looked cleaner, the stitches sat closer together, and the brim held its shape much better. That was the moment I realized brimmed hats are not just about technique. They are about choosing the right combination of stitch, yarn, and tension. A soft yarn with loose stitches can be lovely for a relaxed bucket hat, while a firmer yarn and tighter tension create a sharper silhouette.
I also learned that measuring matters far more than people want it to. It is tempting to eyeball the crown and assume it will all work out in the end. Sometimes it does. Sometimes you end up gifting the hat to a person with a completely different head size and pretending that was the plan all along. Now I always measure the crown diameter, the hat depth, and the brim width before calling a project finished. That extra two minutes saves a lot of fake confidence later.
One of the most useful tricks I picked up came from making summer hats. I wanted a brim that would stay open instead of drooping over my eyes like a dramatic Victorian heroine. Using cotton yarn helped a lot, but the real game changer was changing my hook size for the brim. Going down even half a millimeter gave the stitches more density and helped the brim behave. I did not need magic. I just needed a slightly smaller hook and fewer bad decisions.
Another experience that sticks with me involved making matching hats for family members. I assumed scaling up or down would be simple. Technically, yes. Emotionally, no. Kids’ hats grow fast, adult hats vary more than expected, and some people like a snug fit while others want room for hair, headphones, or mystery volume. What helped most was keeping notes. I now write down the yarn, hook, stitch count, crown rounds, body rounds, and brim rounds for every successful hat. It turns one good project into a repeatable pattern, which is a very satisfying kind of power.
The biggest lesson of all is that crochet hats with brims reward patience. They are still beginner-friendly, but they ask you to pay attention. If you do, they give a lot back: better shape, more style, more function, and that deeply satisfying moment when someone asks where you bought your hat and you get to say, “Oh, this? I made it.” That line never gets old.
Conclusion
Learning how to crochet a hat with a brim is really about learning control. You control the crown size, the body depth, the brim width, the structure, and the overall style. Once you understand the rhythm of increasing for the crown, working even for the body, and increasing strategically for the brim, the project becomes far less intimidating and much more fun.
Start simple. Use basic stitches. Choose yarn that matches your goal. Then let the brim do what it does best: make your handmade hat look finished, fashionable, and just a little bit fabulous. One good brimmed hat can turn into five very quickly, so consider this your official warning.


