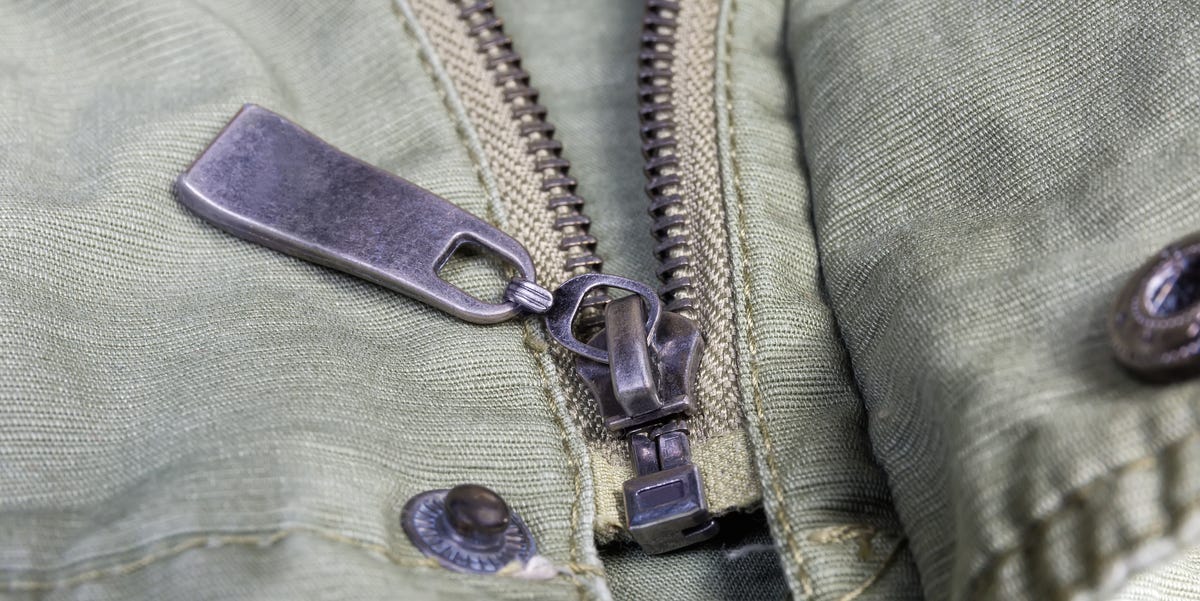

A broken zipper always seems to strike at the worst possible moment. It happens when you are heading out the door, stuffing a suitcase five minutes before a ride, zipping up a jacket in cold weather, or trying to rescue a backpack that has decided it no longer believes in teamwork. The good news is that many zipper problems are surprisingly fixable. The even better news is that you do not need to become a master tailor, gear technician, or “person who owns seventeen mystery pliers” to solve most of them.
If you have ever stared at a zipper and thought, Well, this is how my favorite jacket dies, take a deep breath. In many cases, the culprit is not the zipper teeth at all. It is often dirt, a worn slider, a missing pull tab, or fabric caught in the track. That means a smart repair can save your gear, your money, and your mood.
This step-by-step guide walks you through how to fix a zipper on jackets, backpacks, sleeping bags, tents, luggage, and everyday clothing. We will cover the most common zipper problems, the tools you need, the fixes that actually work, and the warning signs that tell you it is time to stop improvising and replace the zipper entirely.
Why Zippers Fail in the First Place
Before you fix a zipper, it helps to know what went wrong. Zippers are small mechanical systems, and they usually fail in a few predictable ways.
1. The slider wears out
The slider is the small piece that moves up and down and brings the zipper teeth together. Over time, it can loosen slightly and stop pressing the teeth into proper alignment. This is the classic “the zipper closes, then pops open again” problem. Annoying, common, and often repairable.
2. Dirt and grit build up
Outdoor gear gets dusty. Luggage gets gritty. Jackets collect lint. If debris gets into the zipper track, the slider may stick, drag, or jam. A zipper sometimes looks broken when it is really just filthy and dramatic.
3. Fabric gets caught
This is especially common on jackets with lining, dresses with delicate seams, and bags with soft edges. One little bite of fabric in the slider can stop the whole show.
4. The pull tab breaks off
When the pull tab snaps, the zipper may still work perfectly, but it becomes awkward to use. That is a simple repair most of the time.
5. Teeth, stops, or zipper tape are damaged
If the teeth are missing, bent badly, or separating from the tape, the repair gets more serious. The same goes for a missing bottom stop or torn zipper tape. At that point, a full zipper replacement may be the right move.
What You Need Before You Start
You do not need a giant repair station. A small kit is enough for most zipper issues.
- Needle-nose pliers
- Tweezers
- Small scissors or thread snips
- A soft brush or old toothbrush
- Mild soap and water
- A cotton swab or clean cloth
- Graphite pencil or zipper-safe lubricant
- Replacement pull tab or key ring
- Replacement slider and zipper stops if needed
- Needle and thread for temporary fixes
Set the item on a flat surface with good light. If you try to fix a zipper in poor lighting, there is a high chance you will make a confident repair to the wrong part.
Step 1: Diagnose the Exact Problem
Do not start squeezing random metal parts like you are negotiating with the zipper. First, identify what kind of failure you have.
- Stuck zipper: The slider will not move.
- Separated zipper: The slider moves, but the zipper opens behind it.
- Missing pull tab: The zipper works, but you cannot grip it easily.
- Slider off track: The slider has come off one or both sides.
- Bent or missing teeth: The zipper line is visibly damaged.
- Bottom of zipper will not start: Common on jackets with insert pins and box ends.
Once you know the problem, the repair becomes much easier.
Step 2: Fix a Stuck Zipper
If the zipper is stuck, do not force it. That is how a small repair becomes a colorful personal memory.
How to do it
- Inspect the zipper carefully. Look for fabric, thread, dirt, or bent teeth.
- If fabric is caught, hold the fabric near the jam so you do not pull more into the slider.
- Use tweezers to gently tease the trapped material free.
- Wiggle the slider backward slightly instead of yanking forward.
- If the zipper still drags, brush away debris and apply a tiny amount of graphite or zipper-safe lubricant.
- Move the slider slowly back and forth until it runs smoothly.
A graphite pencil can help on metal zippers. For gear or luggage, a dedicated zipper lubricant is even better. Just do not drown the zipper in greasy mystery goo from your garage. More is not more here.
Step 3: Fix a Zipper That Separates After You Zip It
This is one of the most common zipper problems, especially on jackets, sleeping bags, backpacks, and luggage. The zipper looks closed for one glorious second, then splits open like it has lost faith in the relationship.
Usually, the slider is worn and no longer pressing the teeth together tightly enough.
Temporary fix: tighten the slider
- Zip the slider down to the bottom if possible.
- Use needle-nose pliers to gently squeeze one side of the slider.
- Repeat on the other side.
- Test the zipper carefully.
The keyword here is gently. You are trying to tighten the slider slightly, not flatten it into modern art. Too much pressure can jam or crack the slider.
Better fix: replace the slider
If tightening works only briefly, replace the slider. This is often the real long-term repair.
- Identify the zipper type: coil, molded plastic, or metal.
- Check the back of the old slider for a size or model number if visible.
- Remove the top stop with pliers on one side of the zipper.
- Slide off the old slider.
- Install the new slider in the same orientation.
- Crimp on a new top stop.
- Test the zipper several times.
If you choose the wrong slider type or size, the repair will fail no matter how positive your attitude is. Match the replacement carefully.
Step 4: Fix a Missing Zipper Pull
A missing zipper pull looks worse than it is. If the slider is still attached, you can usually solve this in two minutes.
Fast fixes
- Attach a small key ring
- Use a paper clip temporarily
- Loop a piece of paracord, ribbon, or sturdy string through the hole
- Install a replacement pull tab
For backpacks, luggage, and jackets, a cord pull often works better than the original because it is easier to grab with gloves or cold hands. So yes, sometimes the repair is technically an upgrade. Please enjoy this rare victory over the universe.
Step 5: Fix a Slider That Came Off the Zipper
If the slider has slipped off one side or both sides of the zipper, do not panic. This looks catastrophic but is often fixable if the teeth and tape are still in good shape.
- Examine both zipper sides for damage.
- If the teeth are intact, line up both sides evenly.
- Feed the slider back onto both sides at the same time.
- Move it slowly upward to test engagement.
- If necessary, remove a top stop first to make reinstallation easier, then replace the stop afterward.
On some items, especially larger gear, reinstalling a slider is much easier if you have a replacement stop and a bit of patience. Emphasis on “a bit.” A heroic quantity of patience is optional but helpful.
Step 6: Handle Bent Teeth or Minor Tooth Problems
If one or two metal teeth are slightly bent, you may be able to realign them with pliers. Work carefully and compare them to the surrounding teeth. The goal is to restore the original shape, not invent a new one.
For plastic molded teeth or coil zippers, severe damage is harder to repair. If teeth are missing, broken, or detached from the tape, a full zipper replacement is usually the only reliable solution.
What not to do
- Do not force the slider over broken teeth
- Do not cut away random sections of zipper unless you know the repair method
- Do not assume glue will save the day
Glue is wonderful in many areas of life. Zipper surgery is rarely one of them.
Step 7: Fix a Jacket Zipper That Will Not Start at the Bottom
On jackets, the issue is often with the insertion pin, retaining box, or bottom stop. If the pin will not seat properly, the zipper will not align and close.
- Inspect the bottom hardware for bends or looseness.
- Straighten minor metal distortion very carefully with pliers.
- Make sure the pin inserts fully into the box before pulling up.
- If the box or pin is cracked, badly bent, or detached, the zipper usually needs professional replacement.
This is one of those repairs where honesty saves time. If the bottom hardware is seriously damaged, no amount of motivational speaking will fix it.
When You Should Replace the Entire Zipper
Some zipper problems are repair jobs. Others are retirement speeches.
You likely need a full zipper replacement if:
- Multiple teeth are missing or broken
- The zipper tape is torn or frayed badly
- The bottom box or insertion pin is damaged beyond minor reshaping
- The zipper is warped, twisted, or separating in several places
- You repaired the slider, but the zipper still fails repeatedly
For technical outerwear, tents, dry bags, or expensive luggage, replacing the whole zipper may be worth it. For cheap fast-fashion items, it may not be cost-effective. Be practical. Sentimental, but practical.
How To Prevent Future Zipper Problems
The easiest zipper repair is the one you never need to do.
Keep zippers clean
Brush out dust, lint, salt, and grit regularly, especially on outdoor gear and luggage.
Use the right lubrication
Use graphite or zipper-specific lubricant when a zipper starts dragging. Avoid overdoing waxy or greasy products that can attract more dirt.
Do not overstuff bags
A zipper under constant strain wears faster. If your suitcase looks like it is auditioning for a disaster documentary, consider removing three sweaters.
Zip with alignment
Hold the two sides together as evenly as possible when starting the zipper. Twisting and pulling at an angle can wear the slider and strain the tape.
Store gear dry and flat when possible
Moisture, corrosion, and awkward folding can all shorten zipper life. Good storage helps more than people think.
Quick Zipper Fixes for Different Types of Gear
Jackets
Check for caught lining, worn sliders, and bottom-start issues. These are the three usual suspects.
Backpacks
Look for dirt, overloaded compartments, and bent sliders. Backpack zippers often suffer from stress plus debris.
Luggage
Inspect for grit, strained corners, and damaged pulls. Travel is not gentle.
Sleeping bags and tents
Watch for sand, fabric snags, and worn sliders. Outdoor zippers need regular cleaning more than most people realize.
Jeans and clothing
Common issues include stuck fabric, broken pulls, and worn sliders. Clothing zippers are small but fixable.
Real-World Experience: What Fixing Zippers Actually Feels Like
Let’s be honest: zipper repair is one of those jobs that sounds tiny and turns out to be weirdly emotional. Nobody says, “I was having an amazing day, and then I got to repair a zipper.” Usually it starts with a minor inconvenience and escalates into a staring contest with a backpack.
One of the most common real-life experiences is the jacket zipper that separates halfway up on a cold morning. You zip it, step outside, feel triumphant for about two seconds, and then the whole thing opens from the middle like a curtain reveal you absolutely did not request. Many people assume the entire jacket is done for, but in practice, that problem is often just a worn slider. A careful squeeze with pliers may buy you time, and replacing the slider can bring the jacket back to life for another season.
Then there is the suitcase zipper drama. This one loves to appear the night before a trip or, for extra flair, at the airport. Travelers often discover that the zipper is not broken at all. It is clogged with lint, dust, or the fine gritty stuff luggage collects after being rolled through sidewalks, parking lots, and hotel carpets. A simple cleaning and a little lubrication can turn a stubborn zipper into a smooth one again. It is not glamorous, but neither is buying emergency luggage in an airport gift shop.
Backpacks are another classic case. Students, commuters, hikers, and parents all tend to treat zippers as if they are tiny weightlifting belts. When a backpack is stuffed beyond reason, the zipper takes the blame for everyone else’s poor decisions. In real use, the repair may be as simple as reducing strain, tightening the slider, and replacing a broken pull with cord that is easier to grip. That kind of fix is not just practical. It makes the bag easier to use every day.
Outdoor gear brings its own flavor of zipper trouble. Tent and sleeping bag zippers often pick up sand, pine needles, dust, and mystery particles from the great outdoors. People often tug harder when the zipper resists, which usually makes the jam worse. The better experience is slower and less dramatic: brush out the grit, free any trapped fabric, apply a proper zipper lubricant, and work the slider gently. Not exciting, but very effective.
There is also a quiet satisfaction in repairing a zipper instead of replacing the item. Fixing a favorite jacket, gear bag, or travel case can feel surprisingly good. You save money, keep something useful out of the trash, and avoid the headache of shopping for a replacement that somehow costs more and works worse. It is a small repair, but it often delivers a big practical win.
And yes, sometimes a zipper truly is beyond saving. Teeth go missing. Tape tears. Bottom hardware breaks in ways that laugh at your pliers. Knowing when to stop is part of the skill. Good repair is not about forcing every item back to life. It is about recognizing what is fixable, doing the repair well, and moving on when the smarter choice is replacement.
That is what makes zipper repair worth learning. It is simple, useful, and repeatable. Once you fix one zipper successfully, you start seeing broken ones differently. Instead of “This thing is ruined,” you start thinking, “Hold on. Let me get the pliers.” That is growth. Slightly unglamorous growth, but growth all the same.
Final Thoughts
If you know how to fix a zipper, you can save a surprising amount of gear from the donation pile, repair bin, or suitcase graveyard. Most zipper issues come down to a few common problems: debris, worn sliders, stuck fabric, broken pulls, or damaged hardware. Once you learn how to diagnose those issues, the repair process becomes much less intimidating.
Start with the simplest fix first. Clean the zipper. Free trapped material. Add light lubrication if needed. Tighten or replace the slider when the zipper separates. Replace the entire zipper only when the damage is structural and severe. In other words, do not bring a full sewing project to a problem that just needed a toothbrush and five minutes.
A functional zipper may not be the most glamorous part of your gear, but the day it fails, it suddenly becomes the star of the show. Fortunately, now you know how to handle that performance.


